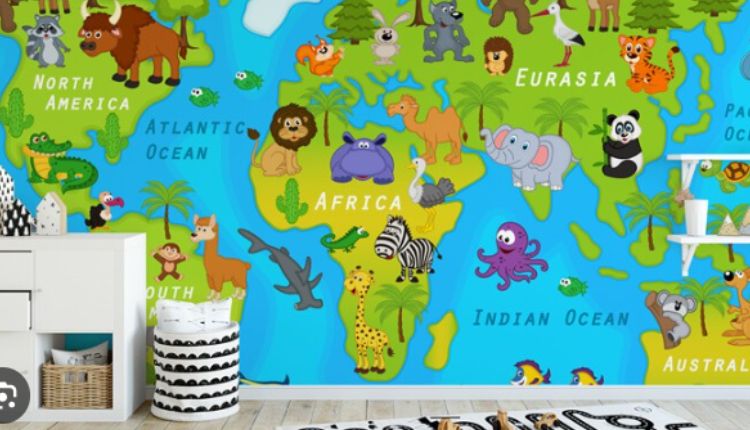
Walls are the first thing people see when they enter a room, and it’s important to make them look good. In fact, you can use wall murals to transform walls from boring to beautiful.
Custom mural wallpaper is a great way to personalize your home and make it feel more like yours. It can be used on any interior wall in your home, including shower walls, bathroom walls, and kitchen cabinets. And it’s an easy way to add color and design to any room in your home.
Custom mural wallpaper is also a great way to bring life back into any space that has lost some of its original charm over time. Using custom mural wallpaper can help you turn drab spaces into something worth showing off.
The creative process involved in designing and installing mural wallpaper requires careful planning and execution.
Step 1: Concept Development
The first step is to develop a concept for the mural. This involves brainstorming ideas, considering the purpose of the space, and understanding the client’s preferences. It’s important to gather inspiration from various sources such as nature, art, architecture, or specific themes. Sketching or creating mood boards can help in visualizing the concept.
Step 2: Measurements and Wall Preparation
Once the concept is finalized, accurate measurements of the wall or walls where the mural will be installed are taken. It’s crucial to ensure precise measurements to create a design that fits perfectly. The wall surface is then properly prepared by cleaning, repairing any imperfections, and priming it to ensure the mural adheres well.
Step 3: Design Creation
Using digital design software or traditional art techniques, the mural design is created. The artist or designer incorporates the concept, desired colors, and any specific elements requested by the client. The design should take into account the wall’s dimensions and any architectural features that need to be considered, such as doors, windows, or electrical outlets.
Step 4: Client Approval and Revisions
The initial design is presented to the client for approval. Feedback and revisions may be requested, and multiple iterations of the design might be required to achieve the desired outcome. Collaboration between the artist/designer and the client is essential during this stage to ensure the mural aligns with the client’s vision.
Step 5: Printing and Production
Once the design is finalized, it is prepared for printing. High-quality printers are used to ensure the mural’s resolution and color accuracy. Depending on the size of the mural and the printing method, it may be divided into panels for easier installation. The material for the wallpaper is also chosen at this stage, considering factors such as durability, texture, and finish.
Step 6: Installation
Prior to installation, the wall surface is prepared by applying a wallpaper adhesive or paste. Each panel of the mural is carefully aligned and applied to the wall, ensuring there are no air bubbles or wrinkles. Proper techniques and tools are used to smooth out the wallpaper and create a seamless appearance. Trimming excess material and making precise cuts around obstacles like corners, doors, and windows is part of the installation process.
Step 7: Finishing Touches
After the mural is installed, any necessary touch-ups or refinements are done. This includes checking for any visible seams, cleaning the surface, and ensuring the mural is securely adhered to the wall. Protective coatings, such as varnishes or laminates, may be applied to enhance durability and protect the mural from damage, fading, or moisture.
